
A bit perplexed on how to teach the 2016 election? Here is some help! I originally wrote this article for the National Council for the Social Studies print journal- Social Studies and the Young Learner, but thought you might be able to incorporate it in your classroom. In my former life I was a teacher and this was one of my all-time favorite units. Please share photos with me if you do any of these activities that will help young learners gain knowledge about our democracy. (And if you love this lesson…will you pretty please pin it or share on social media? Help spread the message of patriotism!)
A Class Museum of the 2016 Election: “Government OF the People, BY the People,and For the People”
By: Dr. Sarah Philpott and Dr. Thomas N. Turner
“Mrs. Philpott, when George Bush moved in, did Abraham Lincoln move out?”
It was my first-year teaching third-grade. I was a bit perplexed when I received this question about the occupants of the White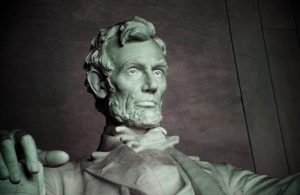 House, but, after some prodding, I realized that Hannah [not her real name] didn’t quite understand that well over 100 years had passed between the presidencies of the two men. She had learned about President Abraham Lincoln in second grade and was learning about then-current President, George W. Bush, in my class. At the time, I considered her misconception a statement about the demise of our society — today’s kids don’t know history. Later, I realized that the discipline of history may not be systematically taught until fifth grade. Primary students can have difficulty understanding time periods when teachers rely on dates as points of reference because the students are still building their understanding of numeracy (Barton & Levstik, 1996). As teachers of elementary-aged students, we have the important tasks of helping them to understand the passage of time, to build informed background knowledge about American history, and to engage in age-appropriate inquiry into the concept of democracy.
The 2016 elections are the perfect opportunity to help students make sense of and visualize their role in our democratic society. In this article, we examine the benefits of building a class museum centered on the theme: “Government of the People, for the People, and by the People.” We provide steps and examples to show how to build a class museum as a way to explore the 2016 election and the role of citizens in our democracy. After all, “learning the the basic ideals and values of a constitutional democracy is crucial to understanding our system of government.” (NCSS, 2010). Helping students understand the basic concepts of voting, campaigning, having rights and responsibilities, and that government is created for the people, by the people, and of the people will help students acquire knowledge about our system of government.
Benefits of a Class Museum
A class museum is a collection of “artifacts” (objects that students collect or create themselves) that are assembled, organized, and displayed on the walls of the classroom.
Gathering artifacts affords students and teachers opportunities to discuss content on a deeper level, as students become more knowledgeable and more inquisitive.
As students design and build their class museum, they feel ownership of the project, which, in turn, helps cultivate a spirit of inquiry for the topics they research. In addition, building a class museum gives students the opportunity to construct their own knowledge, which aids in the understanding and retention of content. (Powell & Cody, 2009).
The project can culminate in an exhibition, during which students lead their peers and parents on museum tours. When students act as docents at their museum “opening,” they have the opportunity to put lesson content into their own words and share information (and enthusiasm) with fellow citizens.
Building a 2016 Class Museum
- Share with your students the concept of a museum. If a field trip to a museum is not possible, take your students on a virtual exhibit at the National Museum of American History or the National Museum of the American Indian.
- Introduce your students to the theme of the class museum. For the 2016 election, we recommend building a museum that explores the aspects of Lincoln’s famous phrase in the Gettysburg Address: “Government of the People, by the People, and for the People” — as this phrase comes to life during an election. Introduce your students to the speech and discuss what these words might mean.
- Ask students what they want to learn about the 2016 election. This will help students take ownership of the learning activity, and it helps you gauge their background knowledge.
- Decide on a location in your classroom to house both the museum and resources for inquiry. Your museum should be divided into three sections: government of the people, government by the people, and government for the people. Ask your librarian to help your procure age-appropriate books and media to keep in your classroom for the duration of the study. Additionally, gather a list of appropriate websites that students can mine for the information.
- Decide what activities and displays to include in the museum. Detailed below are some ideas for student-created exhibits within each section of the museum. Adjust these ideas according to your student needs and time restraints.
- Match the learning activities to your state standards and consider how you will assess the learning outcomes. Will you have students write a reflection at the end of the activity? If so, you may want to have students pick one exhibit from each of the three museum themes and connect the exhibit to the election and to the functioning of America’s democracy. Will you provide a vocabulary list? If so, you may want to include such terms as: executive branch, commander-in-chief, chief of state, inauguration, oath of office, Electoral College, rights and responsibilities of citizenship, regulations, services, majority, minority, polling place, ballot, election clerk, election judge, early voting, and political party. Share this information with students and parents so they know what to expect.
- Decide on a target date for the opening of the exhibit.
- Give students appropriate time in and out of class to create or gather and label their artifacts. Some of the tasks would lend themselves to everyone contributing a piece to the exhibit, while other tasks might be assigned to a group or individual.
- Decide which role you wish students to play at the opening, and then explain the task of the docent to the students. For example, students could be stationed throughout the museum, each student explaining one exhibit to the visitors as they pass by. Or students could act more like tour guides, leading visitors through the entire museum while narrating the entire trip. In either case, model for students what they might say, but encourage them to compose their own speeches.
- Open the class museum to a “public” showing. You might invite students from other classrooms (and other grades) and parents to attend. Consider capturing the event on film and offering it as a virtual field-trip for those people who cannot participate in a “live” visit.
EXHIBIT IDEAS FOR “Government OF the People”
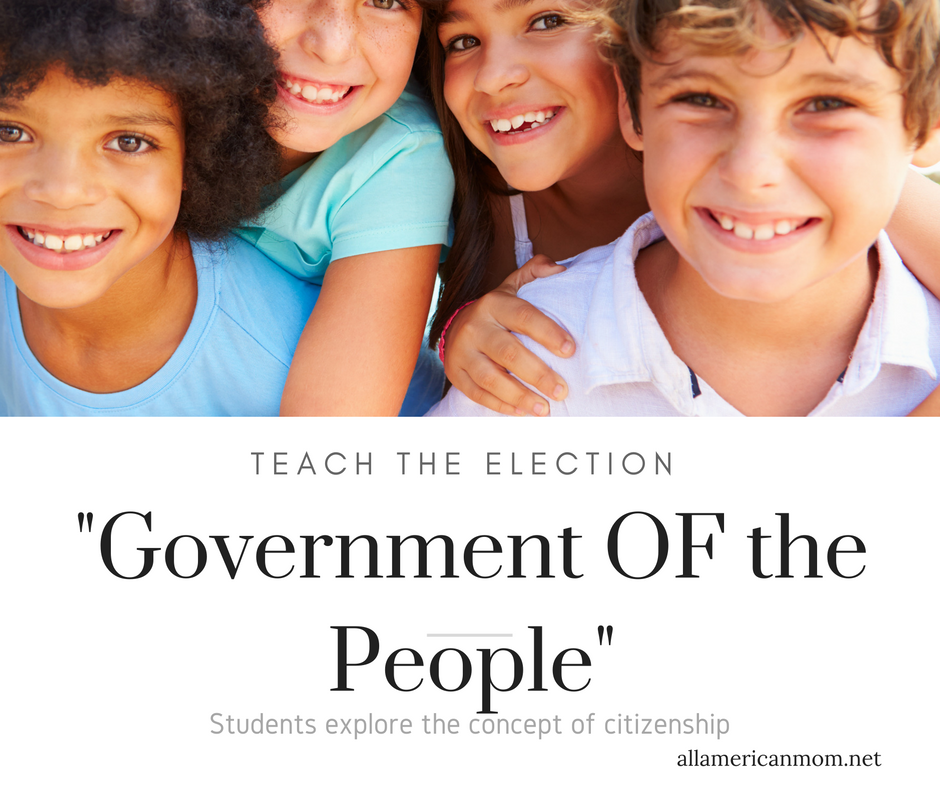
This portion of the museum should be devoted to helping students explore the concept of citizenship. For example, what is a citizen? Where do citizens live? What are the rights and responsibilities of citizens?
Here are some recommended artifacts for students to build, research, and collect:
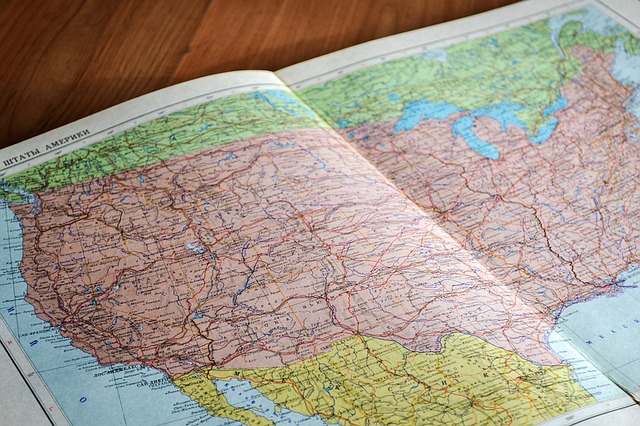
United States Map
Students can pinpoint on a map the state and city or town where they live, the home states of the presidential candidates, and Washington, D.C., our nation’s capital. Students can then compare and contrast the locations by researching different aspects of each location. For example, what are the natural resources of the state or district, what are the prominent geographic features of the state, what is the climate, is the hometown a rural, urban, or suburban environment, what is the population of each city, etc.. Have students create informational posters for each location, paste them around the perimeter of the map, and then use a piece of string to “connect” the poster to its map location.
A Mural of Citizens
After exploring the word citizen, help students create a mural showcasing the myriad faces of citizens. This can be created from visual images the students create or graphic images clipped from magazines or from the Internet. Images should include citizens who are young and old; from a variety of racial, ethnic, and religious backgrounds, who live in cities and rural areas; and who hold a variety of occupations.
Rights and Responsibilities
Help students understand that, regardless of a person’s background, all citizens have rights and responsibilities. After exploring some key provisions in the Bill of Rights, students could illustrate one of the statements. Have them record a right (such as free speech) on a piece of construction paper, illustrate it, and then display it in the museum. What are a citizen’s responsibilities? Certainly, one important responsibility is to learn about important public issues and to participate by voting during an election.
EXHIBIT IDEAS FOR “Government BY the people”

This portion of the museum should be devoted to helping students explore the concept that citizens create and can even lead a government. For example, who are our past presidents? How are presidents elected? Who votes? How do citizens make informed voting decisions?
Here are some recommended artifacts for students to build, research, and collect:
Presidents: Past and Present
Help students create a gallery of some of our past presidents. This portion of the museum might take the form of print media, or it might be composed of PowerPoint slides set to rotate. Have students gather pictures of the current and former presidents. Then give them a list of questions to research. For example: What political party are they associated with? What was their presidential campaign slogan Where were they born? When did they serve? What were come major events in American history during their tenure as president? Have students create a graphic (or one PowerPoint slide) with all the relevant information. Think of it as a collection of “baseball cards for the presidents.”
2016 Presidential Candidates
To honor and explore the major players of the 2016 election and to have students understand the role of campaigning and informed citizenry, students can create life-size versions of each major candidate. For each candidate, have a student trace a classmate’s body on butcher paper, and then fill in the details to resemble a life-size cardboard cut-out of the candidate. Provide students with a list of topics to explore about the candidates (family, campaign promises, campaign slogan, and political party). Candidates’ positions on major issues are summarized at ProCon.org. Ask each student to explore one topic and write his or her findings onto a one-word sentence strip. Paste the sentence strips next to the candidate so visitors to the museum can compare and contrast the candidates. Students can create a portfolio or scrapbook of news articles to display in this area of the museum.
Persuasive Politics
Help students understand that, when candidates make speeches, they are not only informing the audience, but also trying to persuade voters. Share campaign materials with students for their analysis. What are the purposes of the materials? Do the materials provide information about the candidate’s platform? If so, how can you ensure that the information is factual? What persuasive techniques (e.g., bandwagon, scare tactics, slanted words, etc.) might be employed in speeches and materials to help persuade voters? Websites such as Living Room Candidate, and 4 President house images of printed campaign material and commercials from the 1850s to the present. Students can use resources from these sites to analyze the different candidates’ commercials, slogans, and newspaper articles. Discuss with students how citizens can make informed decisions as voters by using critical thinking.
History of Voting
Who has the right to vote? Have all citizens always been encouraged to vote? Discuss the history of this right. Have your class create a timeline about the history of voting. This will help students understand that, historically, not all citizens have enjoyed the right to vote, as well as the historic importance that an African American is our current president and a woman is on the ticket for the current election. Primary photographs depicting pictures of voters, as well as the text of the key amendments that established the constitutional right of minority groups (such as women and African Americans) to vote would be important points on the timeline.
Voting Booth
Give visitors to the museum and your class the opportunity “to vote.” Set up a voting booth with paper ballots and ask voters “to sign in” as they prepare to vote. Have students tally the votes and ask the principal to announce the results at the end of the day.
EXHIBIT IDEAS FOR “Government FOR the people”
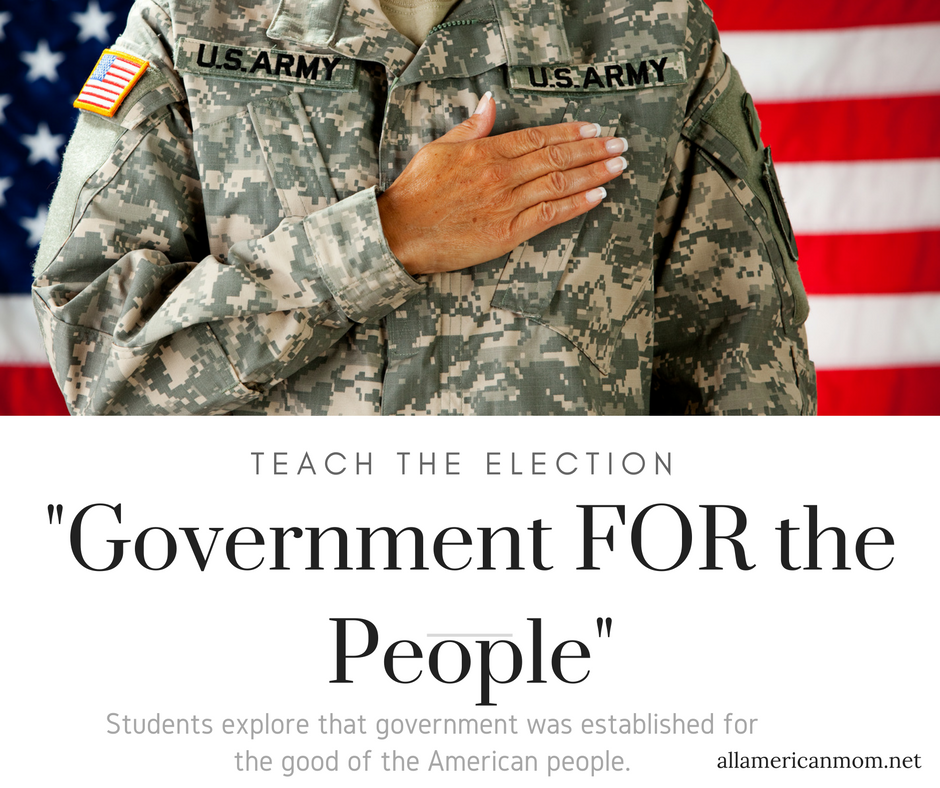
This portion of the museum should be devoted to helping students explore the concept that government is an institution for the common good of citizens. For example, government provides many services that we use every day and sets rules for safety and fairness. We help fund these activities with our tax dollars.
Here are some recommended “artifacts” for students to build, research, and collect.
National Parks
Many students may not realize that tax dollars help maintain many fascinating places such as: the Great Smoky Mountains, Yosemite, and the Grand Canyon. Create an area of the museum where students can showcase some of these natural wonders. You might have students create a “shoe box” diorama representing a park, have them create a poster, or maybe create a picture board display. Some students may have persona photographs, brochures, and mementos from their family vacations to share in the display area.
Government Services
This segment will help students see how tax dollars support services that we enjoy and depend upon. After brainstorming a list of services that are provided by our tax dollars, students can create an informative poster (“Our Tax Dollars Help Fund _____”) devoted to a particular service, from local (e.g., schools, libraries, parks, water supply, roads and police) to national (e.g., post offices, national security, national highways, national parks, and printed money).
Government Regulation
Students can show how tax money helps to support regulations that keep us safe and healthy. Students can bring in a list of the ingredients on a cereal box, a favorite snack, beauty products, or other product that their families purchase. Listing ingredients is required by law, it’s legislated by the government. Government agencies check to make sure that products do, indeed, contain what the manufacturers say they do on the ingredient list. Students can also take photographs of smokestacks, waterways, etc. to illustrate the importance of environmental regulations that help to keep our air and water clean.
Government and Safety
Students can create a photo collage centered on the idea that laws help citizens stay safe at home, in the workplace, and on the street. Students can bring in photographs of pictures of items such as street signs, cross walks, seat belts, fire escapes, and other images associated with the theme. On an index card, students can write down what might happen if the government did not enforce the law that requires the safety equipment or signage depicted in the photo.
CONCLUSION: Civics in Action
After realizing that third-graders need help making sense of and understanding the presidential election, we conducted a version of this learning activity prior to the 2008 election.
The third-graders created their museum in the hallway, rather than the classroom. Using large pieces of butcher paper divided into three sections, we created a massive display centered on the theme, ” government of the people, for the people, and by the people.” Not only did students gain political insight, but visitors and other adults were able to stop and read about the election and democracy from young learners’ viewpoints.
Students also created a newscast about the election that was streamed to all the classrooms in the school. It is from these experiences that we anticipate the benefits of devoting time to the creation of a class museum.
Creating a presidential class museum can give students an opportunity to share and build knowledge about democracy and the 2016 election. This extended lesson helps students understand that they are a vital part of democracy and that government is a part of everyone’s everyday lives. Furthermore, students take the role of active citizens by educating others about the present election and our history. And we, as teachers, devote time to the study of civics so that this great democratic experiment, the United States, can continue to thrive.
The text was originally published in National Council for the Social Studies print journal: Social Studies and the Young Learner. If you quote this article please include the following citation:
Notes:
Keith C. Barton and Linda S. Levstik, “Back When God was Around and Everything’: Elementary Children’s Understanding of Historical Time.” American Educational Research Journal 33, no. 2 (1996): 419-54
National Council for Social Studies, National Curriculum Standards for Social Studies: A Framework for Teaching, Learning, and Assessment (Silver Springs, MD: NCSS, 2010).
Katherine C. Powell and Kalina J. Cody, “Cognitive and Social Constructivism: Developing Tools for and Effective Classroom,” Education 130, no.2 (2009): 241-250
Resources:
The National Archive site offers connections to presidential libraries and an overview of the presidential library system.
The most comprehensive website about the presidents
Offers links to all of the presidential libraries and identifies books about presidential libraries and museums.
The presidential homes website has many photographs and descriptions of homes that presidents lived in before and/or after they occupied the White House.
Want to be the first to know about the soon-to-be released book Swashbuckling Social Studies: Drama Activities and Creative Writing to Make the Social Studies Come Alive by Sarah Philpott, Thomas N. Turner, and Jeremiah Clabough? Sign up for Sarah’s All-American Mom newsletter and you’ll know when it is released!
Sarah Lewis Philpott is a writer, former educator and now stay-at-home mom who earned her doctorate in Teacher Education from the University of Tennessee.
Thomas N. Turner is a professor emeritus of education at the University of Tennessee

 Email
Email Follow Me